
Looking to revamp your bathroom but not sure where to start? You’re in the right place!
This guide will offer all the information you need to install an undermount bathroom sink that looks sleek, stylish and will last you for years. Get ready to transform your bathroom into a beautiful, modern space!
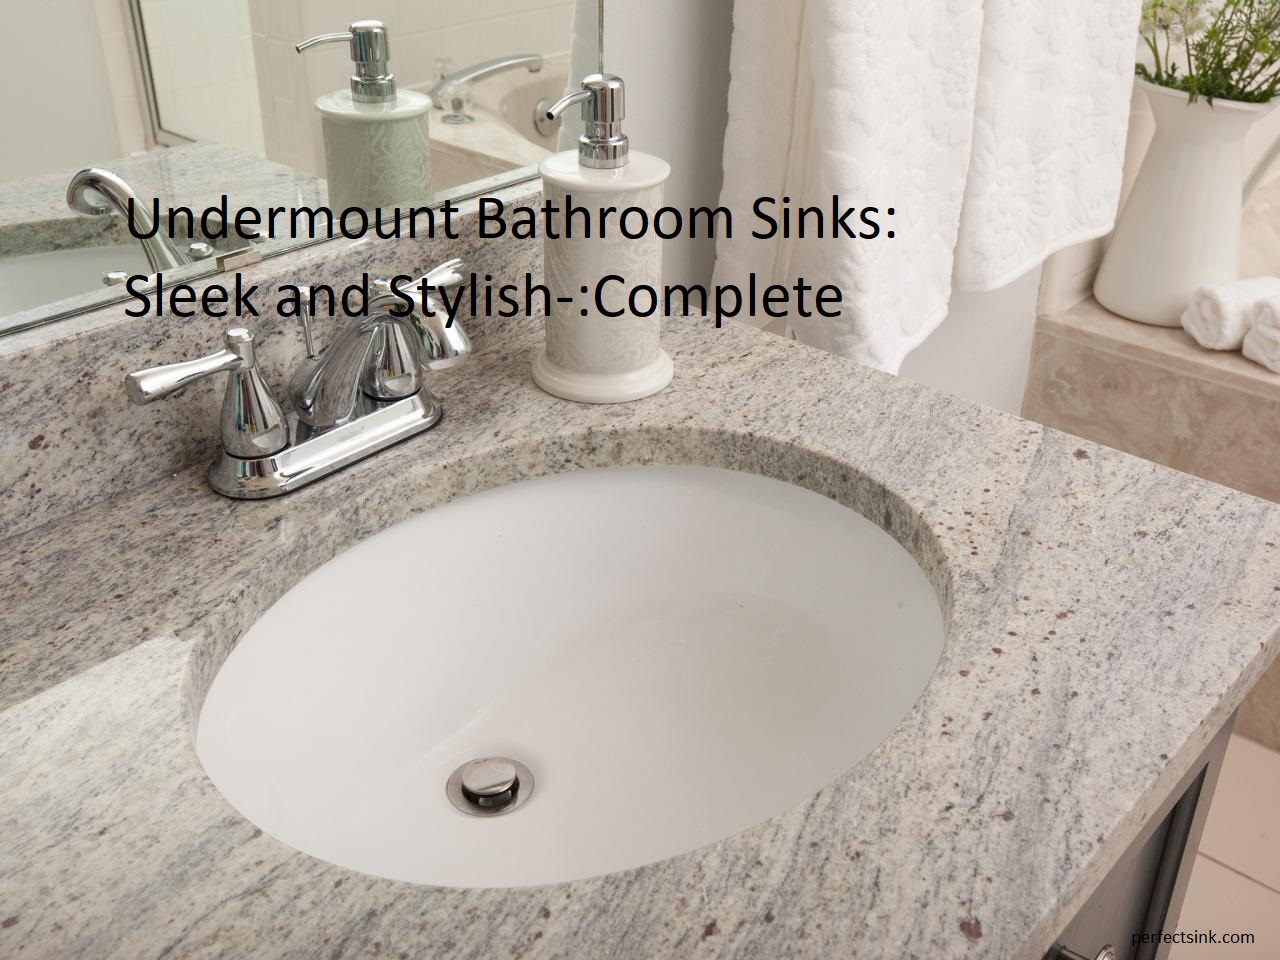
Undermount bathroom sinks are an increasingly popular choice for modernization and designing aesthetically pleasing bathrooms. This guide will provide an overview of all things related to undermount bathroom sinks, including installation instructions, features, available materials, and more.
Undermount bathroom sinks mount directly onto a vanity or countertop. Their edges form a continuous curve as the sink material between the edge of the countertop and top of the bowl pulls away seamlessly to form an integrated look. This sleek design allows for easier cleaning compared to traditional drop-in or center-set designated models as items can easily glide over the entirety of their surface with a single cloth. Additionally, some materials may also be able to resist stains better due to their consistent protective finish that can easily wipe away any lingering dirt or messes with a single cloth over its entire surface area rather than having corners to consider like traditional designs typically do.

Definition of Undermount Bathroom Sinks
Undermount bathroom sinks provide a modern and clean look to your bathroom design, obtaining a sleek and stylish overall look. To achieve this look, they are mounted beneath the counter surface of the vanity unit or bathroom furniture, creating a seamless transition between sink and countertop. Undermount sinks are usually installed with the countertop overhanging slightly over the edges of the basin, creating a neat finish to the general design. The undermount style conceals most of the seams to guarantee there is an effective water catchment around its edges without compromising aesthetics.
The beauty of an undermount sink lies mainly in its production process; these sinks are actually made as one piece using high tech computerized machinery from top-grade durable materials like solid surface or stone composite. This production technique ensures a low maintenance product with superior durability compared to earlier incorporated solutions such as porcelain-on-steel construction.
Benefits of Undermount Bathroom Sinks

Undermount bathroom sinks provide the perfect combination of stylish design, streamlined functionality, and increased counter space. These sinks are attached under the countertop, rather than sitting atop it, and this gives them a contemporary look that will complement any bathroom. Installing an undermount sink also eliminates much of the mess caused by traditional over-the-counter models. With an undermounted sink there’s nothing standing between you and your bathroom sink — no rings or edges to trap dirt and grime. This makes your cleaning routine fast and efficient — perfect for busy households.
Additionally, with no rim around the basin of your sink, you can prioritize aesthetics instead with a larger basin size that gives you additional countertop or storage space. Lastly, undermount sinks can often be mounted to stone or solid surface tops for ease of installation and added durability. Their deep basins also make for easy access to more complex plumbing projects like installing a garbage disposal unit or changing faucets without having to remove any existing pipework from underneath the countertop.
Installation Process of Undermount Bathroom Sinks

When it comes to installing undermount bathroom sinks, it requires the skills of an experienced plumber or contractor. The installation process begins with measuring the countertop opening for the sink and ensuring that all measurements are accurate. Afterward, manufacturers usually provide template guides to mark where the holes need to be cut. Once these are marked, a jigsaw is used to cut through the countertop so that the sink fits snugly into place. If necessary, some modifications may have to be made in order to customize the undermount sink for your particular project.
The next step is attaching any predrilled mounting clips around the perimeter of the cutout before placing a bed of silicone caulking over it. This will help create a tighter seal and ensure that no water will seep out of your countertop when washing items in or near your undermount bathroom sink. Finally, after placing both sides of your sink into its cutout opening, you need to tighten any bolts or screws attaching it securely into place.
Preparation

Getting started on installing an undermount bathroom sink requires the right preparation. Make sure that the sink is right for your bathroom design, with the appropriate size and style. You will also need to ensure that the countertop is strong enough to support an undermount sink, and compliant with local building regulations.
Next, safely turn off the main water supply and empty out any remaining water in the lines leading into your sink. Prepare all necessary tools at hand and set up a workspace before you begin. A helper could also be helpful during certain stages of installation.
Using a silicone waterproof sealant on all underside parts of your sink is essential for a more successful installation – this will reduce any possible water seepage from occurring in future years! Construct a secure wooden guard around the edges of the opening to prevent chipping when drilling holes later on down the line as well. Finally, double check everything has been properly prepared before continuing onward with installation steps outlined below.
Cutting the Countertop
Once you have chosen the desired size and shape of your undermount bathroom sink as well as the type of countertop, it’s time to cut a hole in your countertop for the sink. The best way to ensure an exact fit is to use a jigsaw or circular saw. It’s important that you make sure to measure and mark the areas around the sink correctly before starting cutting.
Here are some additional tips for making sure you do this correctly:
- Use a measuring tape to make sure your measurements are accurate. Triangular measuring tools like this can also be useful;
- If necessary, use a handsaw or drill bit so you don’t end up with an unintentionally large hole;
- Once finished cutting, it is important to sand down any rough edges for aesthetic purposes;
- After ensuring the sink fits flush against the countertop, secure it with strong adhesive caulk or epoxy specifically designed for sinks;
- If applicable, connect any plumbing fixtures required for installation.
Applying Adhesive
For an undermount installation, you must create a strong bond between the sink and the countertop. Depending on your countertop material, you can use either epoxy or silicone as an adhesive. If you are using a quartz or solid surface material, such as Corian or Hanex, then epoxy adhesive is the way to go. For natural stone surfaces like granite or marble, silicone is the more appropriate choice since it has just enough elasticity to allow for countertop movement from heat and temperature fluctuation.
Before proceeding with either epoxy or silicone adhesive, make sure to clean both sink and countertop surfaces with rubbing alcohol to remove grease and dirt that could interfere with achieving a strong adhesion. Always follow product safety instructions carefully when working with these products.
After applying a small dab of your chosen adhesive on each screw bottom closest to the inside walls of your sink basin lip, use a damp cloth to spread it evenly in circular movements over the entire contact area at least 1/2-3/4 inches inward from the walls of your basin lip. Lastly, press down the sink into place firmly but gently – be mindful not to dislocate your earlier applied dabs of adhesive in their respective positions – until all hole cutouts become visible through their corresponding mating slots in your basin rim lip profile. Finally use nuts and bolts provided by manufacturer packaging supplied parts list to secure its final placement without permeating beyond secured area outward onto countertop top surface itself while leaving minor excess margins behind so as not to exceed perimeter limits of intended specified mating distance ranges.
Maintenance of Undermount Bathroom Sinks
Undermount bathroom sinks are an attractive and stylish choice for many bathrooms. In order to keep them looking their best, regular maintenance is recommended. Properly caring for your undermount bathroom sink not only improves its performance and durability, but also helps to protect your investment.
Here is a guide to help you maintain your undermount bathroom sink:
- Cleaning: It is essential to clean your undermount bathroom sink regularly in order to avoid water stains and other dirt that may accumulate on the surface. Using a non-abrasive cleaner will help preserve the smooth outer surface of the sink and prevent damage from rough scrubbing with abrasive materials like steel wool or scrub pads. Rinse the cleaned area with hot water following each cleaning session for best results.
- Sealing: If you have installed an unglazed porcelain or stone-like material, then a sealer should be applied once every two years in order to protect the material from discoloration and damage due to mineral deposits left behind by hard water or other forms of corrosion over time. This can also help prevent potential discoloration due to harsh cleaning chemicals used when cleaning more frequently than necessary, thus prolonging its life span and keeping it looking new for longer periods of time.
3 Drain Maintenance: Regular draining maintenance aids in preventing clogging by removing hair and other small particles that tend accumulate within drains over time due to normal wear & tear from use of the faucet or shower head above it; this will also help prevent sewer backups into your home, as well as assist with preventing slow drainage build-up which can lead to various types of plumbing problems down the line if not taken care of regularly as part of routine bathroom maintenance measures taken on a bi-monthly or monthly basis (depending on usage).
– Pour some medium-hot water down each drain at least twice a month; this helps move any items which may be stuck in the drainpipe along through it so they don’t cause any blockage issues later on.
– Clear out any visible clogs using an over-the-counter drain snake in combination with regular application of baking soda followed by vinegar once every 3 months; this method is naturally safer than using chemical-based products such as hydrochloric acid or caustic soda (as these can corrode pipes if used improperly).
Cleaning
A proper cleaning routine ensures that your undermount bathroom sink remains in pristine condition. In order to achieve and maintain a clean surface, the following steps should be followed:
- To keep the sink looking great, clean it on a regular basis with plain soap and water. For stubborn stains, use a mild cleanser or toothbrush to scrub them away.
- Once all visible dirt and grime have been removed, use a soft cloth to buff the area until it shines. For added protection, apply a few drops of non-abrasive oil or wax-based polish periodically.
- Proper maintenance also means avoiding aggressive cleaning products such as abrasive sponges or steel wool that can scratch the surface of the sink. While occasional use of these may not cause major damage, long term use over time will dull and scratch the shiny finish of your sink.
- Additionally, avoid using harsh chemicals that can damage any sealant coating on the surface of your undermount bathroom sinks. Choose pH neutral cleansers to extend its life so you can enjoy its sleek and stylish design for years to come.
Avoiding Damage
Installing an undermount bathroom sink is relatively easy and straightforward; however, there are some important steps you must take to ensure your sink is correctly installed. To install an undermount bathroom sink correctly, make sure that you check the cabinet for any damage or irregularities before cutting into it for the new sink.
It’s also important to use anti-rust or anti-corrosion shelf paper or wrap when installing metal sinks, as this will help protect the finish of the bar. Secondly, use marine grade plywood when doing a surface mount installation and include adequate caulking around all edges of the sink and countertop to prevent water seepage.
Lastly, support brackets should be applied to reinforce and keep the weight of a heavy cast iron sink in place during installation. Make sure these are placed at even intervals repeatedly distributed throughout the bottom of your basin and secured either with screws or silicone adhesive. Careful attention during this step will ultimately result in avoiding potential damage to your new undermount bathroom sink.
Fixing Leaks
If you are installing a new undermount sink in your bathroom, one of the most important steps is fixing any leaks. Doing so will help protect your sink and the surrounding area from water damage. Below are some key tips to help you create an effective leak barrier.
First, begin by applying water-resistant caulk around the sink’s edges, including around its bottom lip. Be sure to use a caulk that is made with silicone as it is more durable and flexible than other types of caulk. You should also use an appropriate amount of caulk to ensure that there are no gaps or leaks in your sealant barrier. To achieve this, it is best to apply several thin layers of caulk instead of one thick layer; this will avoid air bubbles and provide a better seal.
Next, you should verify that all drain links are properly sealed by performing a water test. To do so, fill up the sink with enough water until the basin is half full and then open the faucet valves (hot and cold). If after 30 minutes or so no water has escaped outside of the basin, then it means all seals were successful in preventing any leaks from happening.
Finally, over time, caulking can become less effective due to weathering or wear and tear; therefore it may be necessary to periodically check for any signs of damage on your undermount bathroom sinks sealant barrier and replace/repair any areas that have worn away or cracked over time. This will ensure your bathroom remains dry at all times when using the undermount basin sink!
Conclusion
Undermount bathroom sinks are a great way to add both style and function to your bathroom. Not only do these sleek sinks provide an aesthetic upgrade, but they are also very easy to clean and maintain.
There are a variety of shapes, sizes, colors, materials and finishes available for you to choose from to make your one-of-a-kind bathroom look unique. Always consider the design of other fixtures in the room such as faucets, cabinets, flooring as well as countertop materials when selecting an undermount sink for your space.
This guide has provided important information about the installation process and some of the pros and cons associated with these sink types that can help you make the right choice for your bathroom. With careful consideration and some good planning you can create a stylish look that will last for years to come!
FAQ’s
What shape bathroom sink is trending?
Oval-shaped bathroom sinks are currently trending.
Is it better to have an undermount sink?
It depends on personal preference and the type of countertop you have. Undermount sinks offer a seamless look and are easier to clean, but they may be more expensive to install.
Which sink is best for bathroom?
The best sink for a bathroom depends on your needs and style preferences. Some popular options include undermount, vessel, pedestal, and drop-in sinks.
Are undermount bathroom sinks hard to clean?
No, undermount bathroom sinks are generally easier to clean because there is no lip or crevice where dirt and grime can accumulate.
What is the best shape for an undermount sink?
Rectangular or square-shaped undermount sinks are popular choices because they offer a modern and sleek look.
How can I make my bathroom look stylish?
Some ways to make a bathroom look stylish include updating fixtures and hardware, adding new lighting, incorporating decorative tiles, and using colorful accessories.
What is the most popular sink style?
Currently, undermount sinks are the most popular sink style.
Is a round or square sink better?
It depends on personal preference and the style of the bathroom. Square sinks offer a modern look, while round sinks have a softer, more classic appearance.
What color sink is most popular?
White is the most popular color for bathroom sinks.
What size sink is best for bathroom?
The size of the sink depends on the size of the bathroom and the needs of the user. A standard size for a bathroom sink is 16-20 inches in diameter.
See More
- Best garage sink 2023
- Best under sink trash can 2023
- Best fireclay farmhouse sink 2023
- Best under sink mat 2023
- Best faucet for farmhouse sink 2023