
Are you struggling to achieve the perfect sound when recording your acoustic guitar? Don’t worry, recording acoustic guitar can be a tricky task- but not impossible!
In this comprehensive guide, you’ll learn top tips and techniques to ensure you get the best sound in your recordings. Get ready to find out how!
In this introductory section we will discuss the basics of acoustic guitar recording and cover the most common tips and techniques. Before you get started with recording, it is important to understand the basics of acoustic guitar sounds. The sound of an acoustic guitar depends on several factors, such as the size, shape, and materials used in its construction; how it is played (with fingers or a pick); and what type of strings are used.
Acoustic guitars come in various shapes including Dreadnought body style, Concert body style, Jumbo body style, and small Guitar-bodies. Different wood types give each acoustic guitar their distinct sound qualities. Common woods used for acoustic guitars are spruce for the top or soundboard; rosewood for fingerboards; mahogany for back and sides; ebony for bridges; and maple for necks. Strings used on an acoustic guitar can vary from light sets to heavy sets depending on how much tension you want in your strings.
The way you play an acoustic guitar also has a major influence on its sound. Acoustic guitar players use many techniques like strumming, picking or even fretting the strings when playing a tune or chord progression. When recording an acoustic guitar track, it’s important to experiment with different dynamics so that your track doesn’t wind up sounding uniform and dull.
It is also important to have a quality pickup system if you use more than one mic while recording an acoustic guitar track – as well as position both mics correctly within the soundscape being captured – in order to achieve a full and balanced frequency response throughout your recordings. This complete guide will show all these tips which help the best recorded sound of your acoustic guitar tracks!

Pre-Recording Preparation
Before you begin recording, there are a few steps you need to take to make sure the process runs smoothly. Preparation is key and will help ensure the best quality recordings. Here are some tips for pre-recording preparation:
- Tune Your Guitar – This may seem obvious, but it’s essential. Nothing kills a great tone like an out of tune guitar. Use an electric or clip-on tuner as they are easier and more accurate than traditional tuning methods.
- Check Your Strings – While you’re tuning your guitar, take this time to inspect your strings for any signs of wear or fraying. If found, replace them for maximum tone potential during the recording session.
- Clean & Oil All Metal Parts – Make sure that all metal parts on your guitar are clean and oiled before beginning to record (especially acoustic guitars). This will help reduce squeaks and rattling when playing back recordings at high levels in the studio or onstage performance environment.
4 Prepare Your Space – Before positioning your microphone, clear away any extra noise sources in the room such as fans, air conditioning units and computers that could disturb your recording session later on down the road. Also place foam panels or other soundproofing material to absorb unwanted noise reflections off of nearby walls and ceiling causing unwanted interference in the mix later on down the road when editing audio files within a digital audio workstation (DAW).
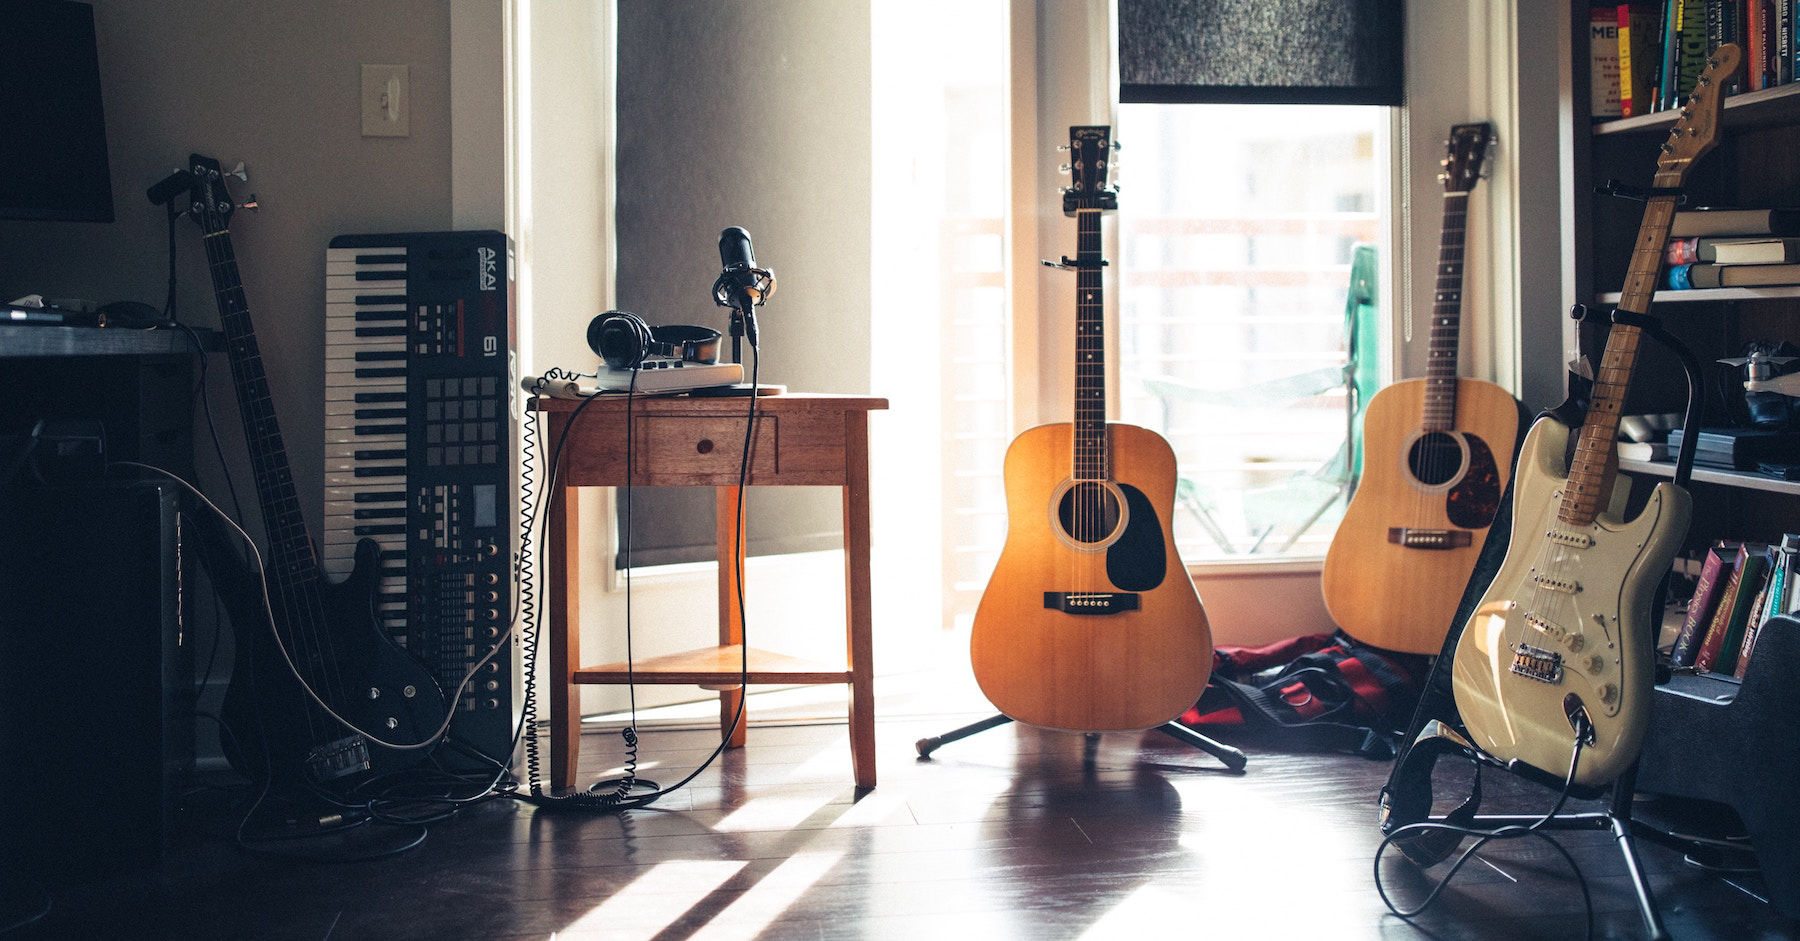
Choosing the right room
Before you even pick up your guitar, the most important factor for great acoustic guitar recording is the room you choose to record in. Many rooms have “sweet spots” for different styles of music – so it’s important to select a room that suits the type of sound you’re looking for. The most important characteristics when selecting a room are size, acoustics and reverberation.
Bigger rooms will generally achieve a better sound than smaller ones, as they lack any frequencies that can be “blocked off” or reinforced in smaller environments. When it comes to acoustics and reverberation, this comes down largely to your personal preference – so experiment with placement of your instrument and microphone set-up to find an arrangement that suits your sound.
Be aware of background noise in the chosen environment – such as traffic or sirens – and make sure these factors don’t interfere with your recording. With the right environment in mind, now we can discuss microphone setup!
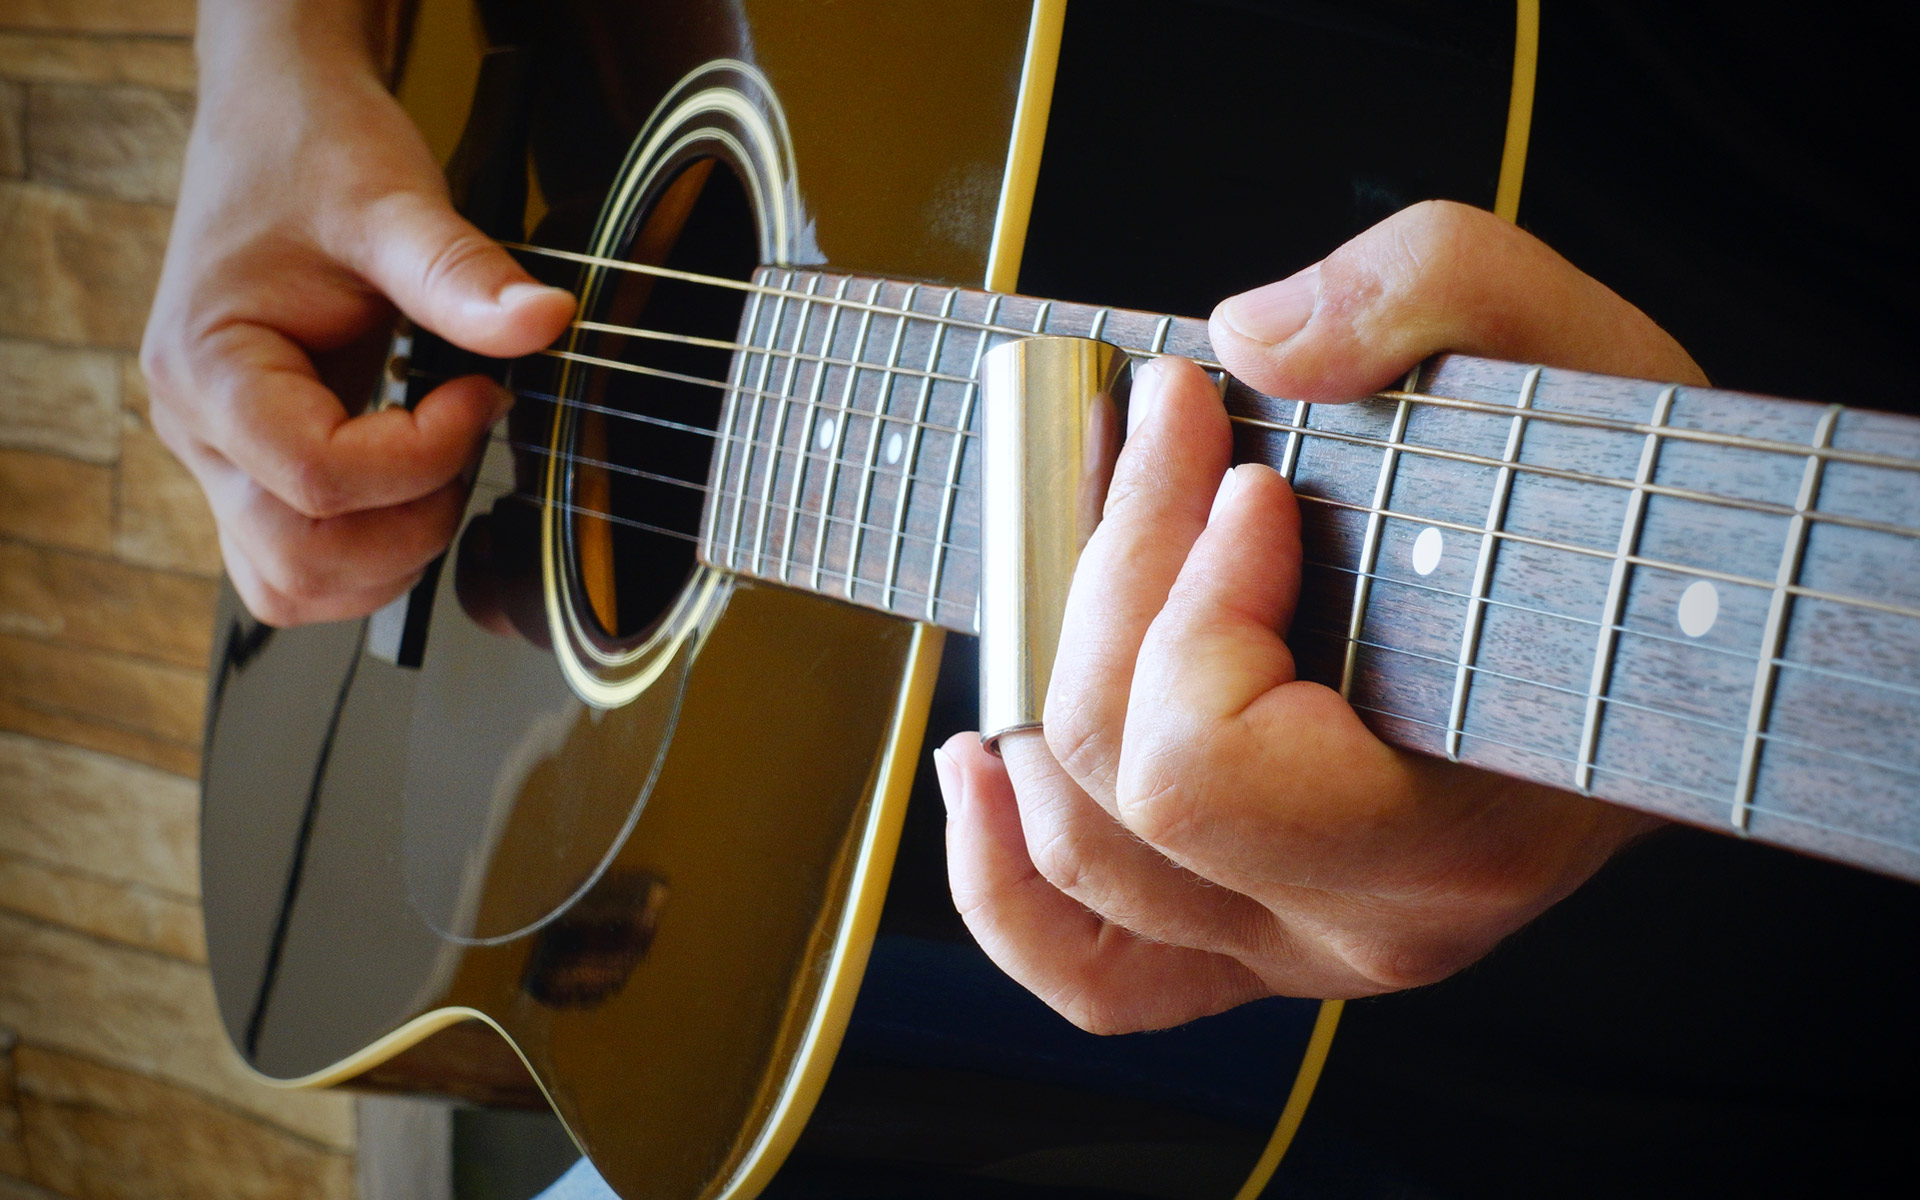
Positioning the guitar
Positioning the guitar to record properly is an important element of getting a great sound. The position of the microphone will make all the difference in capturing the resonance and body of your guitar tone. You should always experiment with mic placement to find the best spot. As a general rule of thumb, you want to aim for close-miking techniques while staying far enough away to avoid clipping.
When miking an acoustic guitar, point your mic towards where you think most of the sound is coming from— typically, that means pointing it at the neck/body joint in about a 45-degree angle. If you’re recording more than one acoustic instrument (such as two guitars or a vocal and a guitar), try using separate microphones for each sound source in order to create better separation between tones.
Another easy way to get good results is by positioning two mics about seven inches apart, then angling them both towards their target sound source. This will give you stereo imaging which can really help fill out your recording and make it more spacious. If using this technique, be sure that one mic is slightly rolled off on volume so it won’t be competing with the other or creating too much ambiance on an already busy track.
Finally, remember when plugging into an amp – keep away from any other nearby equipment including other amplifiers as this will introduce unwanted background noise into your recordings!
Tuning the guitar
Tuning the guitar is an important part of the recording process. An out-of-tune guitar can ruin a take, making it less enjoyable to play and listen to later on. Before recording, make sure to thoroughly tune the guitar for optimal sound.
Thoroughly tuning a guitar begins with understanding of open strings and harmonic tuning; both will provide you with a well-tuned sound. For open strings, lightly fret any open string at the 5th fret. Play that note and then compare it with the pitch of the corresponding string, which will be heard when it’s played open. If the pitch from your fretted string is higher or lower than that of its open counterpart, adjust the tuning peg for that string until they match accordingly. If all of your strings are in tune this way, your instrument will be completely in tune.
Harmonic tuning also requires you to check every note in every chord against its octave above or below to ensure harmonics are properly aligned with one another throughout your entire instrument. To do this effectively, look out for notes where an overtone is louder than its fundamental before plucking any other related note; they should be at matched at exact volumes when clashing against each other as part of one cohesive sound. Keep adjusting until all notes/harmonics are properly balanced against one another for complete accuracy.
Checking and double checking your tuning both during and after recording will help ensure you’re getting optimal sound from both a musicality and audio quality perspective before committing anything to disk or digital file storage!
Techniques for Recording Acoustic Guitar
The techniques used for recording acoustic guitar will depend on various factors such as the type of guitar and its sound characteristics, environmental factors such as room acoustics, and the desired result. With some experimentation, a great sound can be achieved if you understand which recording techniques best suit your instrument and environment.
Mic Placement: Positioning the microphone in relation to the instrument is very important when recording acoustic guitar. Different mic placements will result in different sounds; thus experimentation is key to finding an optimal location. Try placing the mic at several distances from the 12th fret, close to where the neck meets body of the guitar or behind it, towards where your fretting hand strums – all of these locations will produce different frequencies which will enhance certain harmonic qualities of your sound while filtering out others. For best results when using a single microphone, consider using an omni-directional pattern.
Vary Your Strumming Technique: Playing chords with heavy down and up strums may sound great live but are not ideal for recording because one loud chord would likely drown out even slightly softer ones recorded afterwards. When laying down acoustic guitar tracks for studio use consider experimenting with various rhythms like “staccato” (playing short isolated notes or chords) and fingerpicking (plucking individual strings) instead of strumming full chords continuously – it can add beautiful detail to your recordings!
Environmental Factors: The room acoustics influence how you should approach mic placement as well as other techniques that may be needed in order to get a great sound from an acoustic instrument being recorded in a given space. If there is significant noise reverberation in your space due the shape or size of it then you may need to tweak your technique further by adding more padding and absorbing items such as rugs or blankets around you (or any reflective surfaces) to reduce this unwanted feedback while still allowing some ambient details into your recording.
Single Mic Technique
The single mic technique is a relatively simple approach that is great for recording acoustic guitar. This technique uses one microphone placed in front of the guitar, and it can be used to capture a balanced, warm sound that allows all the elements of the guitar’s sound to be heard in their own right. It also reduces the amount of equipment that needs to be setup for recording.
To get started with the single mic technique, you will need to choose a good microphone and decide on where it should be placed. A cardioid dynamic mic like an SM58 can work well for this purpose, as can a condenser microphone such as a large-diaphragm model. The placement of the mic is important; aim to place it around 18-24 inches away from the 12th fret of your acoustic guitar, pointing directly at the soundhole (or close by). The further away you place your mic, the more natural room ambience you will include in your recording. However, this may add too much low end rumble so experimentation can be necessary when finding the right distance here.
Once everything is setup and connected properly, record some takes and adjust levels as necessary while listening back before committing anything to tape or digital audio workstation. For optimum results use headphones while monitoring recordings and adjust gain until it reaches an ideal balance between clarity and warmth – heavy compression or EQ-ing should usually not be required if setup correctly.
A little practice before setting up your microphones – and playing around with different placements – is recommended; this way even subtle variations will become more obvious over time and help you narrow down exactly what sounds best for your particular performance!
Placement of the microphone
When you’re recording acoustic guitar, you need to consider the placement of the microphone in order to get the best sound. The first step is to understand how sound waves behave and how they will interact with your space. Sound spreads out in all directions, so if the room is too live or if there are reflective surfaces, these sound waves will bounce around and create an echo. This means that it’s important for you to choose a room with low reverb or add soundproofing material to reduce reverberation.
Once you have chosen your ideal recording space, place your microphone closer, or directly in front of where the guitarist is playing. Place it at a distance that captures the entire instrument without including other sounds like air conditioning or passing traffic outside. You also want to make sure that the height and angle of the microphone are accurately capturing what’s being played while avoiding direct ‘on-axis’ feedback from any monitors which could lead to muffling or distortion if things are not perfectly aligned. Additionally, consider using a shock mount on the mic stand – this will help reduce unwanted low-frequency noises caused by vibrations between mic stand and floor surface.
Finally, experiment with different distances until you find something that sounds right – close miking will give you more clarity while distant miking will pick up more ambience – depending on what kind of results you’re after!
Types of microphones suitable for single mic technique
When recording single mic technique for acoustic guitar, cardioid dynamic and condenser microphones are both suitable options. A dynamic mic may be an attractive choice if you’re looking to record from a distance, as these mics tend to handle sound pressure and volume better. Condenser mics tend to pick up more detail than dynamic mics, making them a great option for recording close up.
When using the single-microphone technique, it’s important to consider how far away from the instrument you will place the mic in order to get the best sound quality. Placing the mic farther away will capture a more balanced representation of the acoustic guitar tones while placing it closer will capture more direct tone. If you have access to different types of mics, experiment with both a cardioid dynamic microphone and condenser microphone at various distances to find which one produces your desired result.
Another factor to consider is what type of pickup system is used on your guitar — this could influence your decision when choosing a microphone type. For example,if your guitar is equipped with an active magnetic pickup system such as a piezo pickup or humbucker, then a condenser microphone may be preferable over a dynamic microphone as they generally have a flat frequency response which allows them to accurately capture even subtle nuances from delicate acoustic guitars.
Stereo Mic Technique
The stereo mic technique is a great way to capture the acoustic sound of a guitar. With this method, you’ll be using two microphones (or one mic in two positions) to record a full and balanced sound. You can also use different types of mics, such as condenser and dynamic microphones, to achieve unique tones.
Many combination-type cardioid/super-cardioid small diaphragm condenser microphones are widely used for this recording technique. This is because they offer an excellent combination of clarity and accuracy, making it an ideal choice for capturing subtle details in the acoustic guitar sounds. You may also opt to use an omni-directional dynamic mic like the Shure SM57 close up on the Amp if needed—this will add some character to your recordings.
When setting up your mics, place them at least 1 feet away from the guitar body. If using one microphone in two different positions, you could start by positioning the mic about 6” away from one side of the guitar and pointing slightly towards neck/bridge area. Place your second mic around 10” away from where you placed your first mic pointing slightly towards neck/bridge area; then blend the two tracks together until you get that perfect blend with both signals adding life and presence without causing phase issues or excessive phasing artifacts (blinds). Experiment with various placements before recording; move them closer or further apart until they provide a realistic balance between string nuance and warmth depending on what type of sound you’re looking for.
Other Techniques
Aside from the basics of learning proper body positioning, pickup selection and amp settings, there are a few other techniques you can employ to get the best sound out of your acoustic guitar. Below are a few useful tips to consider if you want to enhance the quality and power of your recordings:
1.Humidity & Temperature: Acoustic guitars respond very well when temperature and humidity is ideal. Check out guitar maintenance products that help regulate humidity for an even sound throughout all notes on a fretboard.
2.Alternate Tunings: Many surprising sounds can be found when an acoustic guitar is not left in standard tuning. Using various alternate tunings can open up additional possibilities for greater expression within your music composition.
3.Microphone Placement: There are many common approaches to positioning mics while recording acoustic guitars, such as including both condenser mics (usually targeted near the middle of guitar’s body) and dynamic mics (directed toward the strings). Experimenting with different mic placements will yield interesting audio nuances that add unique coloration and character to a track.
4.Softening Strings: If the strings vibrating against each other cause unnecessary noise during recording, try applying some medium viscosity finger grease onto them before playing; this will provide an instant reduction in boucing string noise and keep your tracks from getting overpowered by sound interference from friction noise on your tracks.
Conclusion
Recording acoustic guitar can be a tricky art to master, as there are several dynamics that need to be taken into consideration for the best sound. Start by making sure you have an appropriate space for recording and using a suitable microphone and positioning technique to capture your desired tone.
Also, it’s important to set up your pre-amps and compressors correctly so that the sound can be refined in the mix. Lastly, remember that mastering your acoustic guitar takes practice, so don’t be discouraged if you don’t get it perfect right away. With some patience and experimentation, you should be able to achieve a great result every time.
FAQs
How can I make my acoustic guitar sound better when recording?
There are several ways to improve the sound of your acoustic guitar when recording. One of the most important factors is to use high-quality microphones and place them correctly. You can also experiment with different mic positions and room acoustics. Another approach is to use equalization and compression during mixing to enhance the guitar’s natural tone and dynamic range.
How do I get the best guitar tone for recording?
To get the best guitar tone for recording, you should experiment with different microphones and mic positions until you find the right combination that captures the sound you want. You can also try using a preamp or DI box to boost the guitar’s signal and add warmth and clarity to the tone.
Which technique is the easiest and most reliable when recording acoustic guitars?
The easiest and most reliable technique for recording acoustic guitars is to use a single microphone in a good-sounding room. This technique is known as “mono miking” and can produce excellent results if you choose the right mic and position it correctly.
How can I improve the sound quality of a recording?
You can improve the sound quality of a recording by paying attention to several factors, including microphone placement, room acoustics, EQ and compression settings, and overall mixing techniques. Additionally, it’s essential to use high-quality equipment and record in a quiet environment.
How do you record a guitar like a pro?
To record a guitar like a pro, you should use high-quality microphones and preamps, choose the right mic positions, and experiment with different recording techniques until you find the right sound. You should also pay attention to the room acoustics and use EQ and compression to enhance the guitar’s natural tone.
What mic pattern is best for acoustic guitar?
The most commonly used mic pattern for acoustic guitar is the cardioid pattern, which captures sound from the front of the microphone while rejecting sound from the sides and rear. This pattern provides a focused and detailed sound that works well for most acoustic guitar recordings.
What effects sound good on acoustic guitar?
There are several effects that sound good on acoustic guitar, including reverb, delay, chorus, and EQ. These effects can add depth, space, and character to the guitar’s natural tone and help it sit better in the mix.
Should I record my acoustic guitar in stereo or mono?
Whether to record acoustic guitar in stereo or mono depends on the type of music you are making and the effect you want to achieve. Mono recording is more straightforward and can work well for most styles of music, while stereo recording can add width and depth to the guitar’s sound.
Why do my guitar recordings sound so bad?
There are several reasons why your guitar recordings may sound bad, including poor microphone placement, bad room acoustics, low-quality equipment, and improper mixing techniques. It’s essential to address these issues and experiment until you find the right combination of factors that work for your recordings.
How do you get clarity in guitar tone?
To get clarity in guitar tone, you should focus on proper mic placement and experiment with different EQ and compression settings. You should also pay attention to the room acoustics and consider using a preamp or DI box to boost the guitar’s signal and add warmth and clarity to the tone.
See Also :
- Best toy sink with running water 2023
- Best collapsible sink for camping 2023
- Best stainless steel farmhouse sink 2023
- Best sink strainer 2023
- Best caulk for kitchen sink 2023